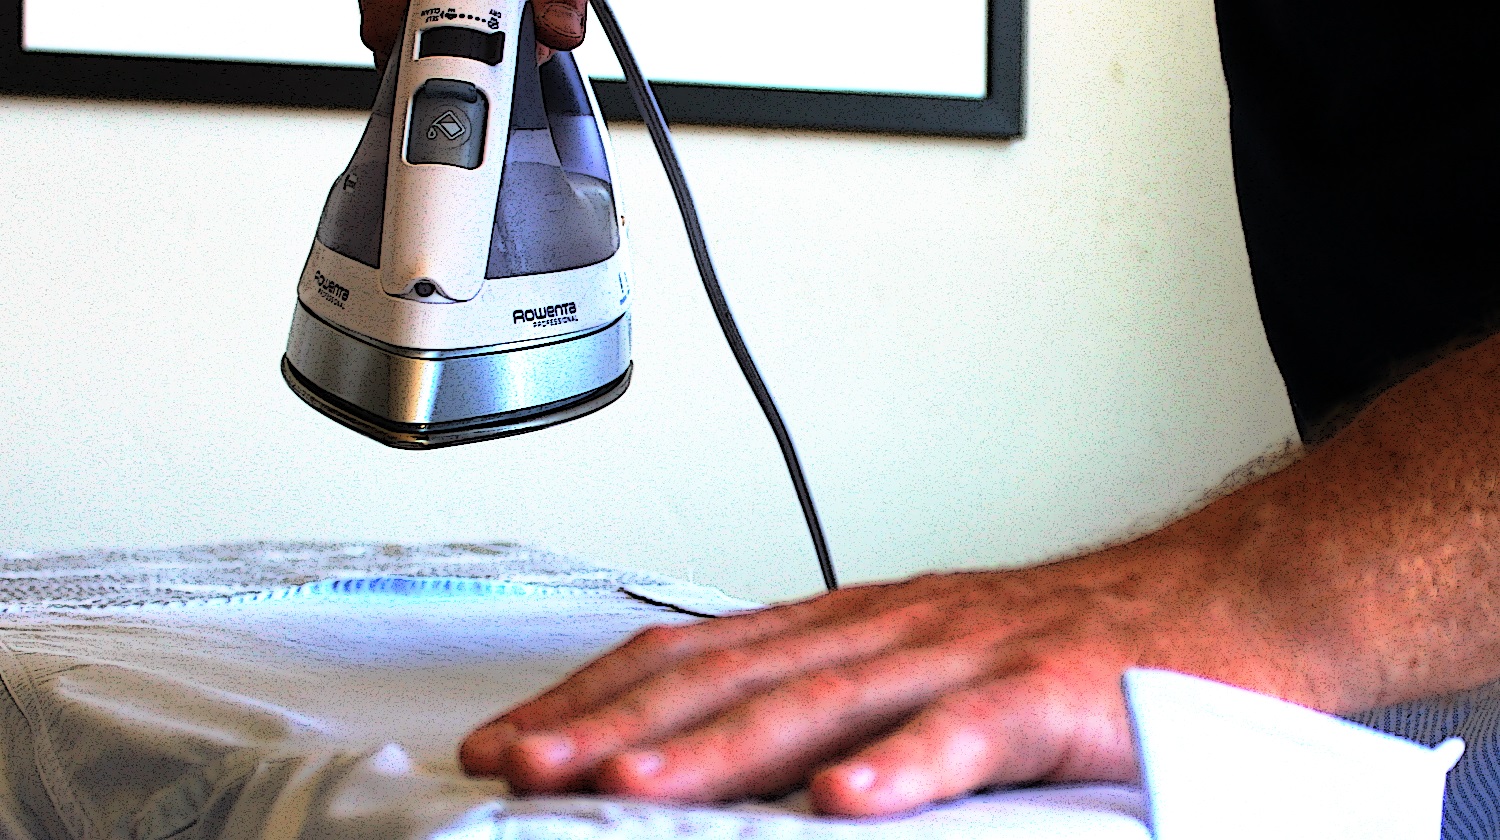
First, for anyone who saw the title of this post and immediately wanted to respond with “give it to a woman“… you’re a predictable, mouth breathing bore. Second, there’s no real “right” way to iron a shirt. But here’s one way that’s not overly fussy, will have you looking good, and won’t take up too much time.
Step 1: Prepare your Workspace + Iron
- Make sure the floor is clean. If it’s not, your shirt sleeves might graze the floor and pick up stray pet hair, cheeto debris, or spilled beer.
- Turn on a podcast or put something on TV that doesn’t require constant visual attention. Watching sports or a movie you’ve never seen before will be too distracting, and you’ll end up burning yourself and/or scorching your shirt.
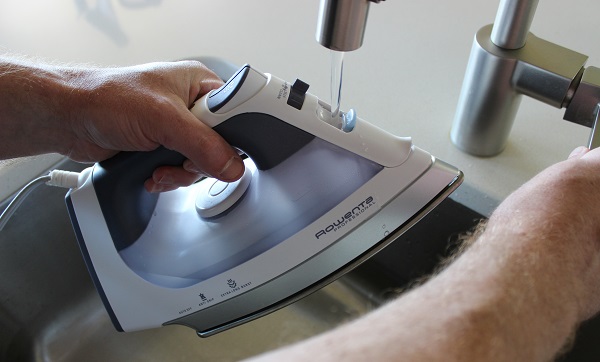
- Fill your iron’s water reservoir. You’d be surprised how many guys don’t know that steam is crucial to ironing.
You need steam. And steam, wait for it, requires water.
Step 2: Assume the Position
- For right handed people: Position the ironing board with the point to your left. If you’re a southpaw, the point goes to the right.
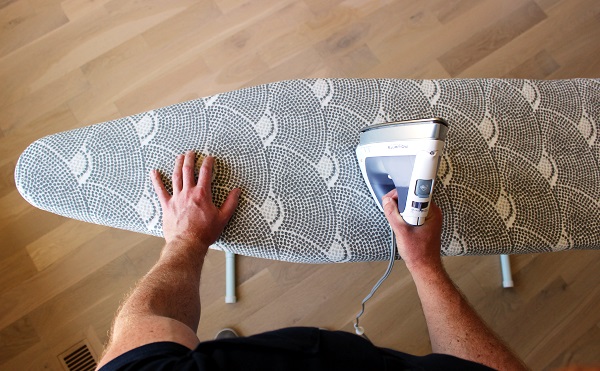
The view of a right-handed ironer.
Step 3: Plug in, turn Heat to proper temp, and get Steam going
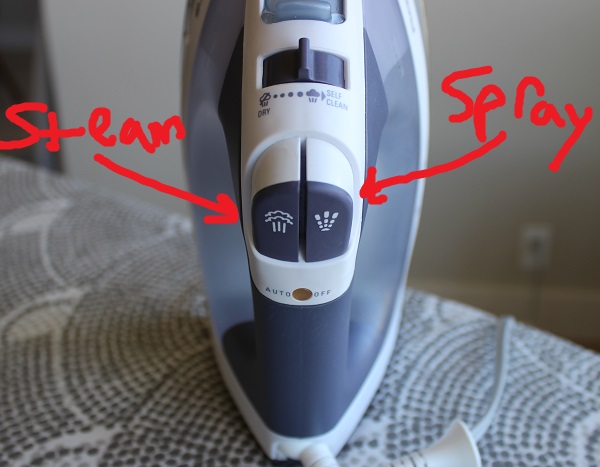
- Most irons have two dials and two buttons (we’ll get to the buttons in a second). For most cotton dress shirts, you want pretty high heat and a good amount of steam being pumped out (but read the tag just to be sure). You may have to wait a little while before the steam starts coming out of the holes in the plate on its own.
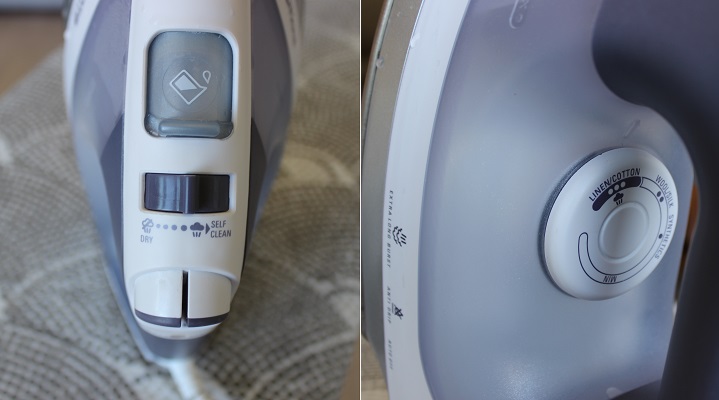
Left: The Steam adjuster. Right: The temperature dial.
These settings show a high steam / hot iron.
Step 4: Position the Shirt
- Once the iron is hot and steamy (aw yeah,) you’re ready to start. Tension is your friend here. Put the point of the ironing-board up and into the left shoulder of your shirt, pulling it tight so it’s as flat as possible against the board. Again, this is for right handed people. Lefties will start on the right shoulder/side of the shirt.
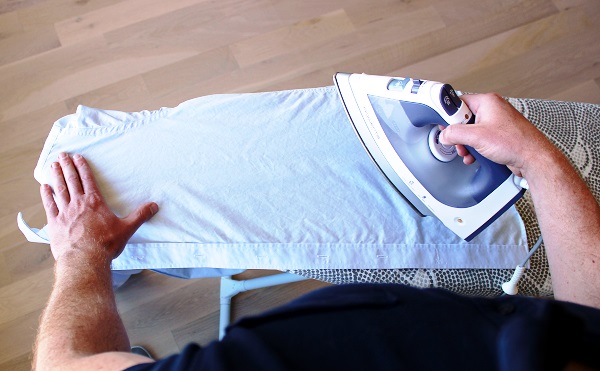
How a righty sets up to start ironing.
Once a section of the shirt-body is done, pull (roll) the body towards you, to expose the next section.
Kinda like you’re taking a piece of paper towel (or TP) off a roll, but with both hands.
Step 5: Start Ironing
- I don’t know who originally said this, but ironing is a lot like sex. Start out slow with less pressure, then ramp up the intensity as you go. This crescendo-ing just isn’t possible with a garment steamer, since there’s no touching/pressure between the garment and the apparatus. And really, what kind of weird sex is that?
- Some parts of the shirt get ironed before the others. You know the old saying “you can’t push a rope?” Right. Same goes for a shirt. So the order that I use/suggest, involves pulling the shirt towards you, over the ironing board, once each section has been completed and you’re ready to move on to the next. Done with section #1, the left front of the shirt? Pull that section towards you, over the board, and expose the back left, section #2.
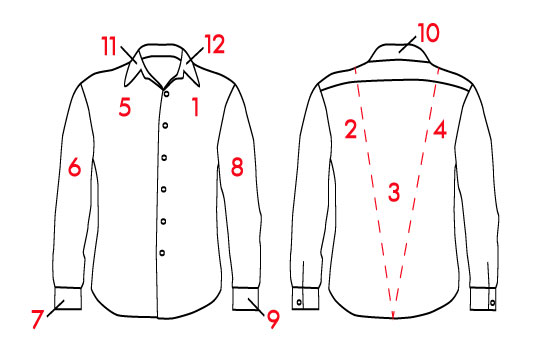
Again, this is for right handed people.
Lefties would start with the right front (with buttons) instead of the left, before moving onto the back.
Step 6: Use that Steam Blast Button!
- Remember those two buttons that most irons have? Right. One of them is incredibly useful, yet shockingly underused by most.
- The steam blast button is like hitting the power punch/turbo speed button in a video game. Feel free to use it liberally, and especially on stubborn wrinkles.
Ironing. JUST like a video game. Right?
Step 7: Use your “Undo” Button, AKA, the Water Sprayer
- If you accidentally iron in a wrinkle or crease? Don’t panic. Use the water sprayer function to wet down that portion of the shirt.
- Smooth out and iron over that wet spot. The wrinkle/crease should disappear.
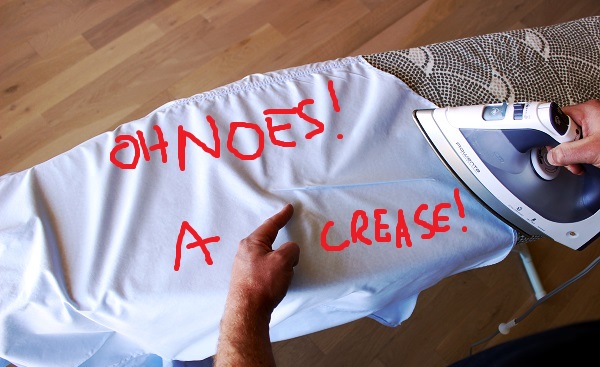
Don’t panic.
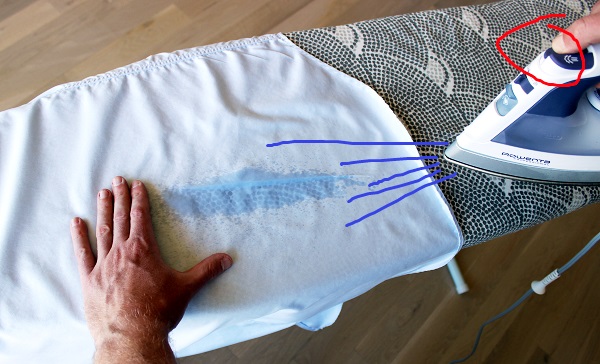
Wet the crease down.
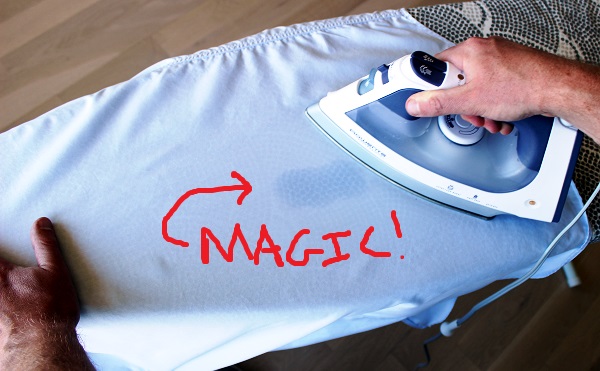
Smooth out then iron over the wet spot. Crease will disappear.
Step 8: Sleeves & Cuffs
- The body of the shirt is the easy part. Sleeves can be a bit tricky.
- For right handed people, smooth and spread the sleeve out with the pit draped over the edge of the board’s point.
- Hold the cuff with your right hand, and with the weight of the shirt providing tension, hanging off the point, iron the sleeve.
- Once the sleeve is done, I’ll often put the cuff hole over the button, press the iron down quickly, and give it a steam blast. Just to set the shape.
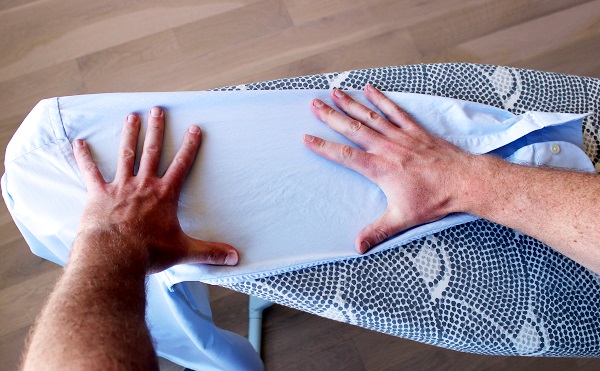
Smooth out that sleeve, using the seam at the bottom as a guide.
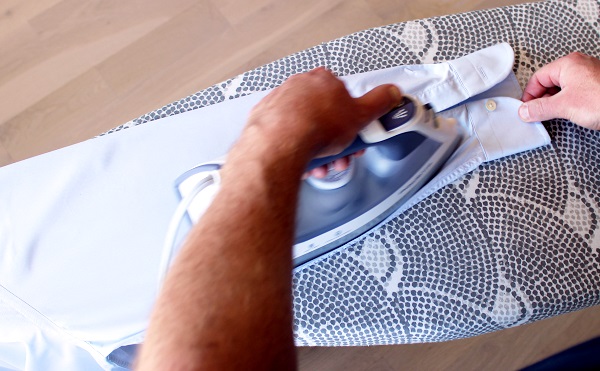
Tension is your friend
Step 9: The Collar
- I like to give my collars a little shape by using the point of the board. This looks pretty good if you go sans-tie a lot.
- It’s a six step process, with the collar being broken up into thirds (section #10, #11, and #12 here)
- Position the back of the collar, over the board, dead center. Give it a quick steam blast. Then move onto each front section/point of the collar, and do the same.
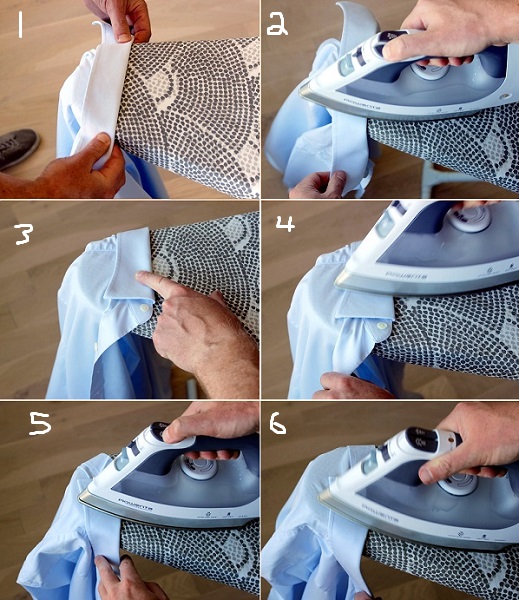
Giving the collar some shape by steam blasting the back, right front, and left front.
Step 10: Hang it on a Decent Hanger, Button the top button.
- That’s it. You’re done. Total time it usually takes me, per shirt = 2 minutes 45 seconds.
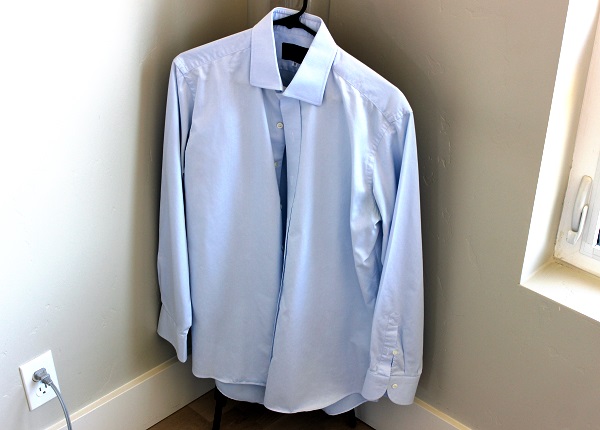
Thus endeth the most exciting post in the history of the internet.
BONUS FINAL TIPS: Perfection is the enemy of good. It doesn’t have to be glass smooth. The front is more important than the back, especially if you wear sportcoats, suits, and/or blazers. Take the collar stays out when ironing (not to mention washing/drying). Make sure you use the “self clean” function on your iron every few weeks. Last thing you want is to stain a favorite shirt with gross brown or yellow water. Never try to iron something while you’re actually wearing it. Read the instructions for your iron and the care instructions on your shirt.
